Connecting a WevDAV share with Windows 7
-
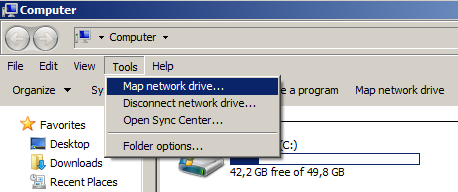
Map network drive
Start the Windows Explorer and open the “Map network drive...” dialog.
-
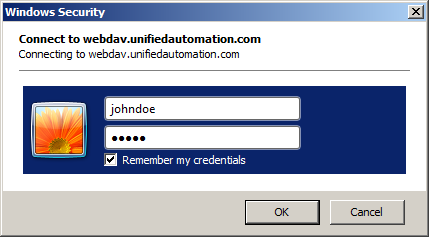
Enter URL and select “Connect using different credentials”.

-
Enter your user credentials for Unified Automation WebDAV Share as provided in the email.
Known Issues with Windows 7
Cannot copy files bigger than 50MB.
Windows 7 has limited the file size of files that can be copied via WebDAV to 50MB.
To solve that problem open the registry editor (regedit.exe) and change the setting HKEY_LOCAL_MACHINE\SYSTEM\CurrentControlSet\services\WebClient\Parameters to 0xffffffff.
Attention: Changing registry settings should be done only by advanced users!
WebDAV access is very slow.
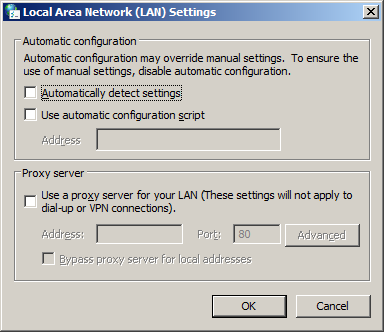
By default Windows7 searches for special files in every folder. This slows down the WebDAV traffic extremely. You can disable this “Automatically detect settings” feature of Windows7 and WebDAV will work as expected.
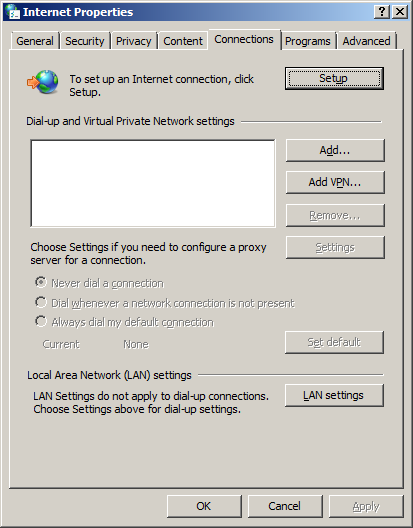
To do so open the Windows Control Panel → Internet Options. Then select the “Connections” tab and click the “Setup” button.
In the new dialog uncheck “Automatically detect settings” and press “OK”.
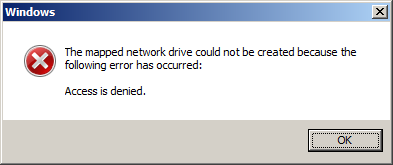
Cannot connect to WebDAV server.
Windows 7 cannot handle certificate errors correctly. If for example the server certificate is expired or it is a untrusted self-signed certificate one would expect a certificate warning with an explanation and an option to proceed on your own risk. Windows7 shows an error “Access denied” which looks like a wrong password and you have no option to proceed anymore.
To verify that you can use a web browser like Firefox to check if the certificate is OK. The Unified Automation WebDAV server should always have a valid certificate so this problem should not occur. If so, please contact admin@unifiedautomation.com.